Thinking About Painting Your Kitchen Cabinets?
So, you're looking at those kitchen cabinets and thinking they could use a facelift. Maybe they're dated, maybe the finish is worn, or maybe you just want a fresh look. Painting your cabinets can absolutely transform a kitchen without the huge expense of a full remodel. But here's the deal: it's not a simple weekend project, and it's definitely not for everyone. As someone who's seen countless cabinet painting jobs, both good and bad, I can tell you there's a lot to consider.
Before You Even Think About Paint
Before you buy a single can of paint, you've got to do some serious homework and prep. This is where most DIY cabinet painting projects go sideways, fast. Skipping steps here means a finish that chips, peels, or just looks terrible in a few months. And nobody wants that.
- Assess Your Cabinets: What kind of shape are they in? Are they solid wood, laminate, thermofoil, or something else? Solid wood is generally the best candidate for painting. Laminate and thermofoil can be painted, but it requires specific primers and a lot more care to make it stick and last. If they're greasy, grimy, or have deep gouges, you're looking at more prep work.
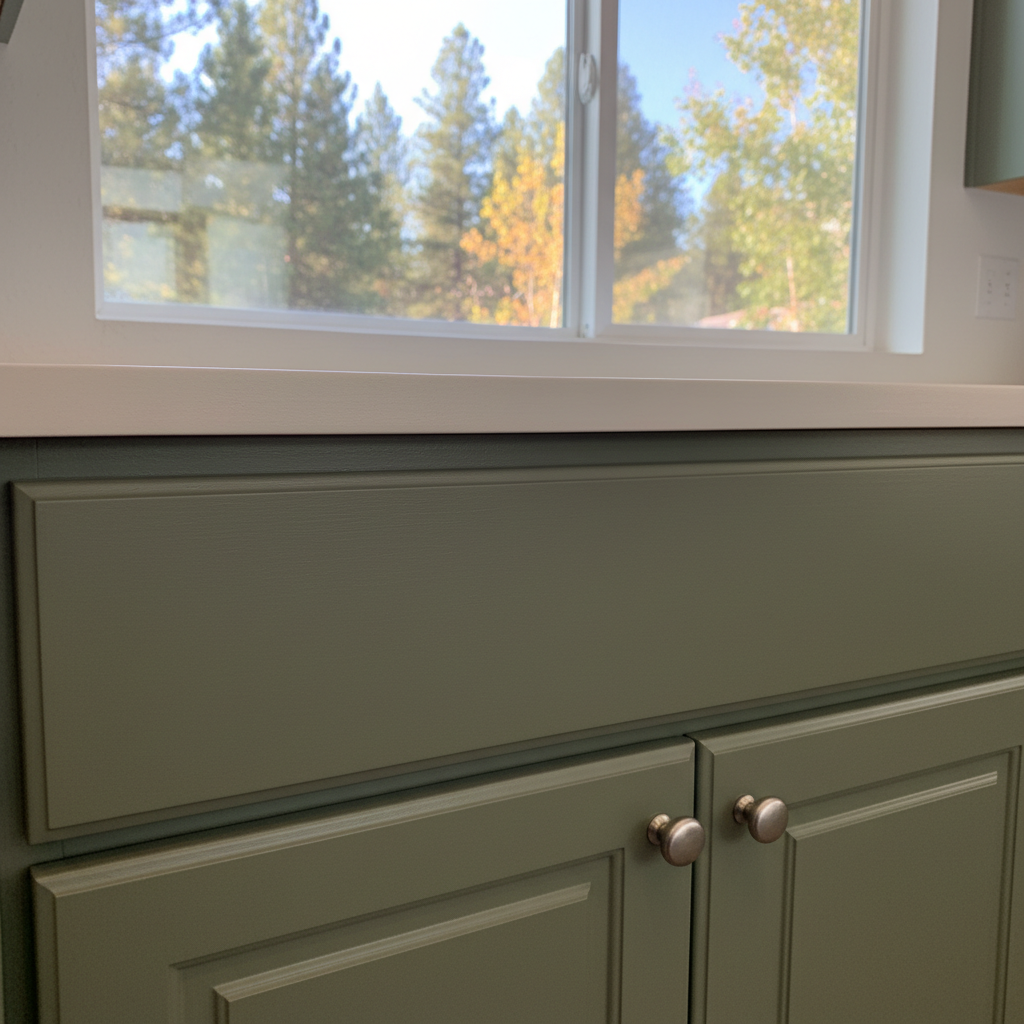
- Choose Your Paint Wisely: This isn't the time for cheap wall paint. You need a durable, hard-wearing finish that can stand up to daily abuse, moisture, and cleaning. I always recommend a high-quality acrylic or alkyd enamel. These paints cure to a much harder finish than standard latex. Brands like Benjamin Moore Advance or Sherwin-Williams Emerald Urethane Trim Enamel are popular for a reason – they perform. Don't skimp here; it's the foundation of a lasting job.
- Gather Your Tools: You'll need more than just brushes. Think about a good quality primer (often a bonding primer is best for cabinets), painter's tape, drop cloths, sanding blocks (various grits from 120 to 220), wood filler, a good degreaser, tack cloths, and maybe a small foam roller for smooth surfaces. If you're going for a sprayed finish (which gives the best results), you'll need a sprayer, respirator, and a well-ventilated space.
- Plan Your Workspace: You'll need a clean, dust-free area where you can lay out doors and drawer fronts to dry. This often means your garage or a spare room. Make sure it's well-lit and you have plenty of space.
The Nitty-Gritty: The Painting Process
Alright, you've decided to tackle this. Here's the general breakdown of the steps. Each one is critical, so don't rush through anything.
1. Disassembly and Cleaning
Take off all doors and drawer fronts. Label everything! Seriously, label the back of each door and the corresponding cabinet box with a number or letter so you know exactly where it goes back. Remove all hardware – hinges, knobs, pulls. Then, clean everything thoroughly. Kitchen cabinets accumulate grease and grime you don't even see. A good degreaser (like TSP substitute) is essential. Rinse well and let everything dry completely.
2. Sanding and Repairs
Lightly sand all surfaces you plan to paint. This isn't about removing the old finish, it's about creating a 'tooth' for the new primer to adhere to. Use 120-150 grit sandpaper first, then maybe a finer 220 grit. If there are any dings, dents, or old hardware holes you want to fill, do it now with wood filler, then sand smooth. Wipe everything down with a tack cloth to remove all dust.
3. Priming
This is arguably the most important step for durability. Apply a high-quality bonding primer. This helps the paint stick to the existing finish and blocks stains. Two thin coats are always better than one thick one. Lightly sand with 220 grit between coats if recommended by the primer manufacturer, then wipe clean.
4. Painting
Now for the color! Again, two thin coats are usually better than one thick one. For the smoothest finish, especially on flat panels, a small foam roller can work wonders. For detailed areas and edges, a good quality synthetic brush is your friend. If you're spraying, practice on some scrap wood first. Spraying gives the most professional, factory-like finish, but it has a steep learning curve and requires proper ventilation and safety gear. Let each coat dry completely according to the manufacturer's instructions before applying the next.
5. Curing and Reassembly
This is where patience comes in. While the paint might feel dry to the touch in a few hours, it takes days, or even weeks, for the paint to fully cure and harden. Don't rush to reassemble your cabinets. If you put them back too soon, you risk chipping, scratching, and sticking. Once they're fully cured, reattach your hardware and put everything back in its place. Make sure to use new felt pads on the inside of cabinet doors to prevent them from sticking.
When to DIY vs. When to Call Spokane House Painters
So, can you do this yourself? Absolutely, if you have:
- Time: This is not a quick project. Expect it to take at least a week, maybe two, for a medium-sized kitchen, especially with proper drying and curing times.
- Patience: Rushing any step will lead to a poor finish.
- Attention to Detail: Every speck of dust, every drip, every missed spot will show.
- A Good Workspace: You need a clean, dust-free area to work in.
- The Right Tools and Materials: Don't try to cut corners here.
If you're short on any of those things, or if your cabinets are particularly tricky (like heavily textured or damaged), or if you just want a truly professional, sprayed finish that looks like it came from a factory, then calling a professional painting service like Spokane House Painters is probably your best bet. We've got the specialized equipment, experience, and techniques to get that flawless, durable finish you're dreaming of, without you having to sacrifice your sanity or your garage for two weeks.
Think about it this way: a DIY job done well can save you money, but a DIY job done poorly will cost you more in the long run to fix. Especially with the dry Spokane air, paint can sometimes dry faster than you expect, making brush strokes more noticeable if you're not quick and skilled. We're used to working with these local conditions. Ultimately, the decision is yours, but make an informed one. Your kitchen is the heart of your home, and you want those cabinets to look great and last for years.